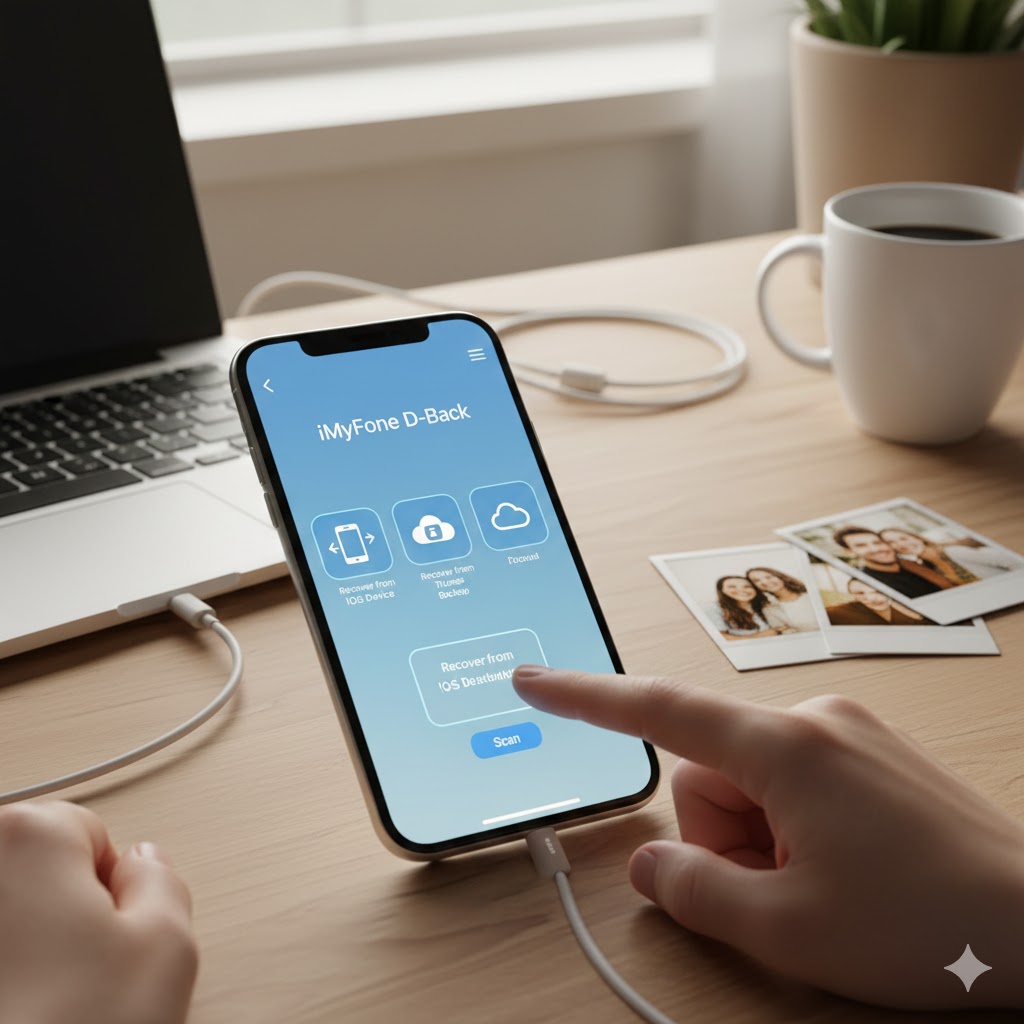
If you’ve ever felt that sinking feeling in your stomach upon realizing that precious photos have disappeared from your gallery, you know how desperate it feels. Whether it’s due to an accidental tap, a botched reset, or a software glitch, losing photos can feel permanent.
The good news is: most of the time, the photo isn’t actually “deleted” right away! It is either hidden or in a holding area.
In this guide, we show you the most effective step-by-step process to recover your lost photos, whether you are an Android or iPhone user.
1. The Starting Point: Check the Trash/Recently Deleted
Before resorting to complex software, the first and simplest step is to check your gallery app’s trash folder. Modern operating systems keep deleted files for a safety period (usually 30 days) before removing them permanently.
✅ For Android Users
-
Open your phone’s native Gallery or Photos app (the name may vary depending on the manufacturer).
-
Look for a menu icon (three dots or three lines) or navigate to the Albums/Collections tab.
-
Look for and select the Trash, Bin, or Recently Deleted option.
-
Select the photos you want to rescue and tap Restore or Recover.
✅ For iPhone (iOS) Users
-
Open the Photos app.
-
Tap the Albums tab at the bottom of the screen.
-
Scroll down to the Utilities section and select Recently Deleted.
-
You may need to use your passcode, Face ID, or Touch ID to gain access.
-
Tap Select, choose the images, and tap Recover in the bottom right corner.
2. The Most Robust Solution: Use Cloud Backup
If the photo was deleted more than 30 days ago or you couldn’t find it in the local trash, your best resource is cloud backup.
☁️ Google Photos (Android and iPhone)
Google Photos is the default backup service for most Android devices and is also widely used by iPhone users.
-
Check Synchronization: If sync was active, your photo will be saved in the cloud. Open the Google Photos app and browse your timeline as usual.
-
The Google Photos Trash: If you deleted the photo from the cloud, it stays in the Google Photos trash for up to 60 days.
-
Open Google Photos.
-
Tap Library and then Trash (or Bin).
-
Select the image and tap Restore.
-
☁️ iCloud (iPhone)
iCloud stores copies of your photos and full backups of your device.
-
If iCloud Backup was active before the deletion, you can try restoring an old backup (which will overwrite more recent data). Warning: This is a drastic measure.
-
Alternatively, log into iCloud.com on a computer and go to Photos. The photo might be saved there, even if it was deleted locally.
3. Last Resort: Recovery Software (Deep Scan)
If steps 1 and 2 fail, it’s time to use third-party tools. When a file is permanently deleted, the operating system simply marks that memory space as “available,” but the data remains there until it is overwritten by a new file.
⚠️ Essential Safety Tip
STOP using your phone immediately (avoid taking new photos, recording videos, or installing apps). The more you use the device, the higher the chance that new data will overwrite the space of the lost photo.
🛠️ Recommended Software (Usually requires a PC)
| Platform | Featured Software | Action Method |
| Android | DiskDigger (App) | Basic scan (free) or deep scan (paid, may require root). |
| Android/iPhone | EaseUS MobiSaver (PC) | Connects the phone to the computer to perform a deep scan of the storage. |
| iPhone | iMyFone D-Back (PC) | Specialized in iOS, allows recovery from the device itself or from iTunes/iCloud backups. |
How It Works (Summary)
-
Download and install the software on your computer (or the app on your phone).
-
Connect your phone to the PC via a USB cable.
-
Follow the software instructions to enable USB Debugging (on Android) or Trust this Computer (on iPhone).
-
Start the deep scan. The process can take anywhere from minutes to hours.
-
The software will list the recoverable files. Select and save them in a safe location (not on the phone itself).
Conclusion: Prevention is the Best Medicine
Recovering lost photos is possible, but it takes time and, sometimes, money. The easiest way to ensure you never lose your memories is to keep automatic cloud backup always turned on.
Whether it’s Google Photos, iCloud, Dropbox, or OneDrive, synchronization is your best insurance policy against accidental loss!